
How to Create an Administrator Account in Windows: Step-by-Step Guide
Learn how to create an administrator account in Windows using Computer Management or Command Line. Step-by-step instructions included!
Explore Windows 10/11 virtual desktops
Real-World Applications of flexidesktop
Accessing your virtual desktop with flexidesktop is straightforward and flexible. Once you sign up to our service, you’ll receive login details to connect to your virtual desktop from any web browser, making it accessible from almost any device. However, in certain environments, using Microsoft’s Remote Desktop software can provide additional benefits such as:
To connect securely and efficiently via Remote Desktop using a VPN, follow these steps:
To enable VPN access, log in to your flexidesktop user area and submit a support ticket. You can do so here. Type “VPN access” in the subject and just submit the ticket.
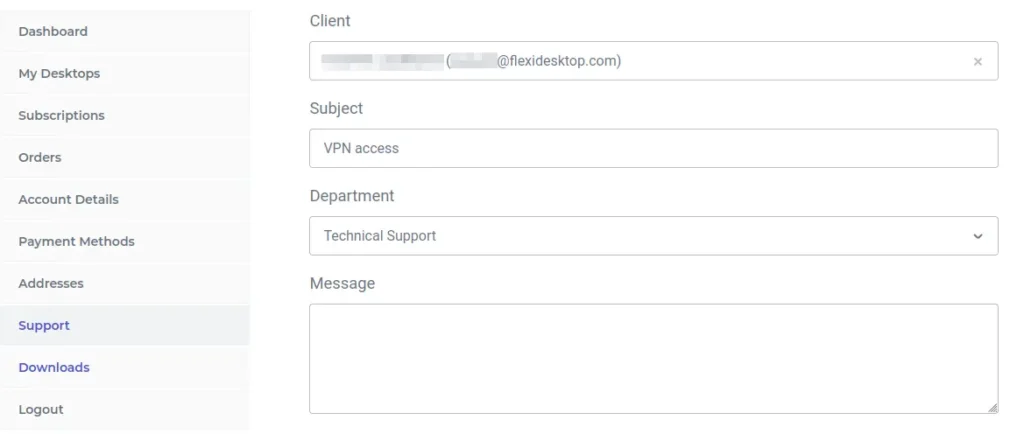
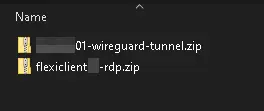
After submitting your request, you will receive an email containing two essential files:
Download and install the free WireGuard software, available for all major platforms, from here.
Once installed:
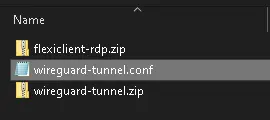
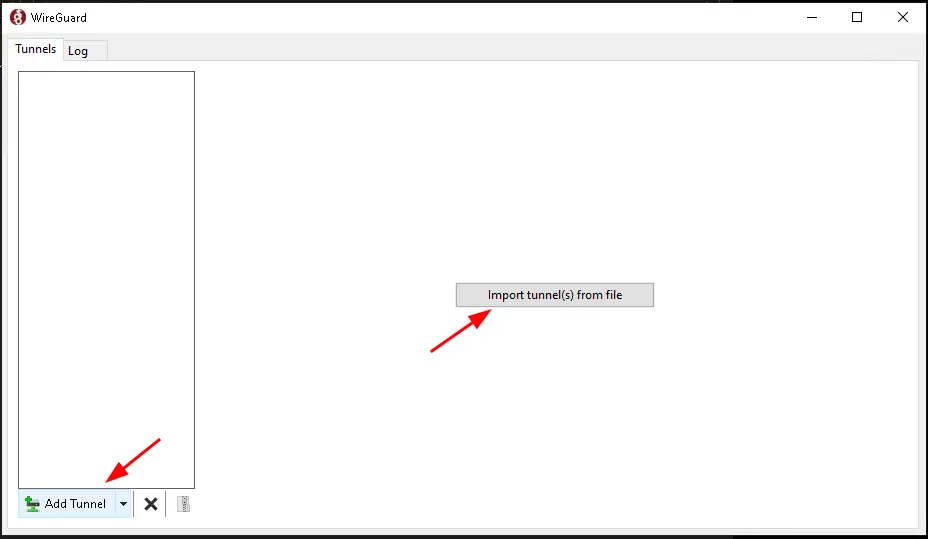
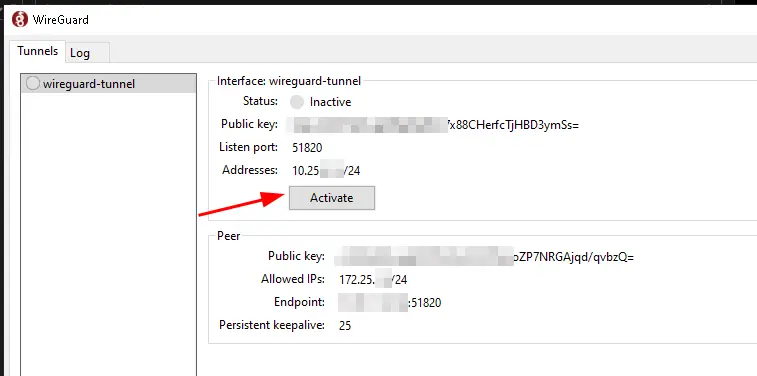
You are now securely connected to the flexidesktop VPN.
With the VPN active, you can now connect to your virtual desktop:
Next, open the extracted Remote Desktop profile file (with the .rdp extension).
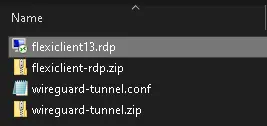
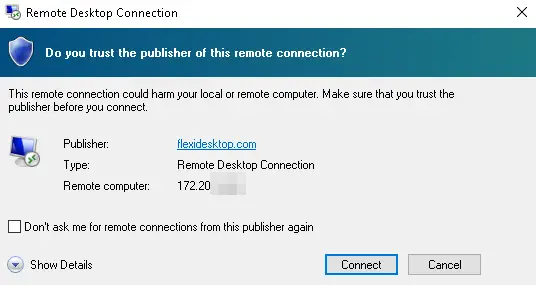
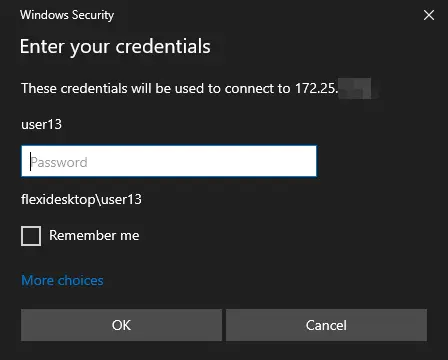
When prompted, enter the Remote Desktop password provided in the email along with the ZIP files.
Click Connect, and you’re in! Now you can enjoy the full functionality of your virtual desktop with the added security of an encrypted point-to-point VPN tunnel.
Why Choose flexidesktop?
If you’re here searching for a solution to connect your own remote desktop to a VPN, consider upgrading to flexidesktop. With flexidesktop, you gain:
Take the hassle out of managing your own infrastructure and focus on what matters most to your business.
By choosing flexidesktop, you’re not just simplifying your workflow; you’re optimizing it for security, flexibility, and efficiency. Start now and experience the difference!

Learn how to create an administrator account in Windows using Computer Management or Command Line. Step-by-step instructions included!

This tutorial explains how to access your flexidesktop Team, view and reveal user credentials, and request new users or admin changes. Follow these steps to make user management easy and secure.

